
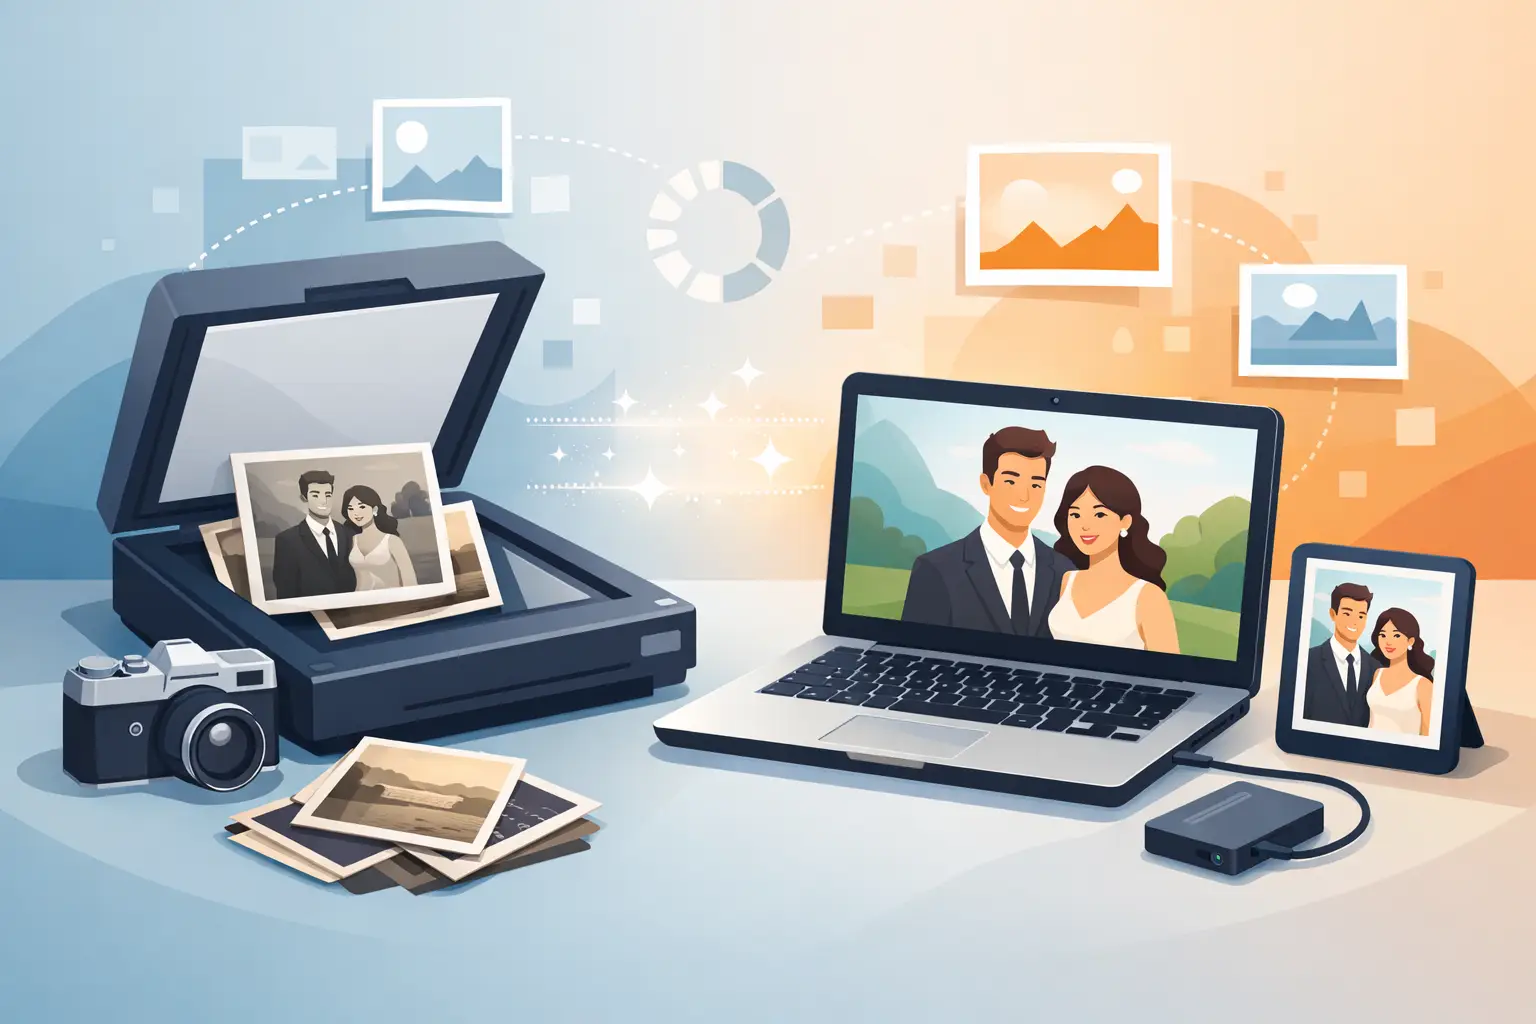
A faded seaside holiday print, a 1960s portrait of grandparents or a child’s first photograph often exists in only one copy. That is why the question of how to scan old photographs is not only about device settings. It is about saving a family archive without exposing fragile originals to further damage.
Good scanning holds the details still visible today before they disappear under dust, scratches and fading. It also lets you share memories with siblings, children and grandchildren without splitting the only album. Start calmly — by choosing a method that matches the condition of the photographs and what you plan to do with them later.
How to scan old photographs step by step
The safest home solution is a flatbed scanner. The print lies on the glass without being pulled through a mechanism, so the method works for old, brittle, wavy or slightly torn photographs. A feeder scanner can speed work with many new, stiff prints, but it is not a good choice for photographs after parents or grandparents.
Before you switch the device on, decide the purpose of digitisation. If files are mainly for viewing on a phone and sending to the family, a smaller file size is enough. If you later want a print, retouching or the option to enlarge the frame, you need higher resolution and a good-quality source file.
Choose the right resolution
For most photographic prints, 600 DPI is a sensible starting point. That resolution keeps fine image elements and prepares a file for a later print at a similar or slightly larger size. Small photographs — ID portraits, wallet photos or small prints heavily cropped in an album — are worth scanning at 1200 DPI.
A higher DPI number will not, however, repair a photograph that has already lost sharpness or detail through fading. It will only create a larger file, and scanning will take clearly longer. Treat 1200 DPI as a choice for small prints, material for restoration and photographs that may one day be enlarged.
300 DPI can be enough for quickly sharing photographs online, but it is not the best protection for a family archive. If you scan keepsakes only once, keep the material in a quality that will not limit you in a few years.
Prepare the prints and the scanner glass
The most damage is often done not during scanning itself, but in a hurry while preparing photographs. Lay them on a clean, dry surface. Work with clean, dry hands, and with very delicate prints consider cotton or nitrile gloves. Do not rub the surface vigorously — especially if the emulsion is cracked or the print has stuck after years of storage.
Blow dust off with a gentle blower or remove it with a very soft brush. Wipe the scanner glass with a microfibre cloth before you place the photograph. Even a small speck of dust will show on the digital file as a dark spot, and at high resolution it can look like a serious blemish.
Do not use water, household detergents or alcohol directly on the print. Do not try to flatten creases with an iron, heat or strong pressure. An old photograph can look durable, but its layers become brittle with time. With cracks, lifting fragments or water marks it is safer to hand it over for careful digitisation.
Scan settings that keep a natural image
In the scanner software choose colour scanning, including for black-and-white photographs. Old monochrome prints often have a warm or cool paper tone, and a colour scan keeps more information useful for later correction. Treat automatic image enhancement with caution. It can improve contrast on an ordinary print, but it can also overdo saturation, sharpening and noise reduction.
It is best to make one calm scan without aggressive filters. That will be the digital counterpart of the original — a file you can always return to. Only a copy of it should be brightened, cropped or retouched. That approach protects you from finding, months later, that the only file version has unnatural colours or missing facial details.
If the reverse of a photograph has a date, a signature, a dedication or a studio stamp, scan that side as well. A note such as “Holiday 1974” can matter as much to later generations as the image itself. Keep album pages too when captions explain who is in the photograph.
JPG or TIFF?
JPG is practical, small and easy to open on a phone, computer and television. It is a good format for a family gallery, sending and everyday viewing. It does, however, use compression, which can slightly lower image quality with repeated saving.
TIFF takes much more space, but keeps more data and is a better choice for files meant for professional processing, retouching or archiving. You do not have to choose only one. A practical arrangement is to keep TIFF files as an archival copy and prepare JPGs for convenient family use.
How to scan old photographs with a phone when you have no scanner
A phone can help when you want to protect an album’s contents quickly or share a photograph with relatives. It does not replace a scanner, especially with small prints, scratches that need retouching or a planned print. A phone camera can introduce reflections, uneven light and perspective distortion.
If you use a phone, lay the photograph flat on a matt surface and photograph it in diffused daylight. Avoid flash and light coming straight from one side. Keep the camera parallel to the print, take several shots and choose the sharpest. Do not apply strong filters at once — they can change skin, clothing and background colour and take away the photograph’s authentic character.
This method makes sense for urgent protection of memories, but it is worth returning later and making proper scans — especially when the photographs are the only keepsakes of important people or events.
Organise files before there are several hundred of them
Digitisation quickly creates hundreds of images. Without a simple naming system a family archive becomes, after a few months, as hard to browse as a box of loose prints. A good solution is to divide by years, people, places or events, for example “1987_Christmas_Kowalski_family”. If the exact date is unknown, enter an approximate year or decade instead of guessing.
Keep at least two copies of the files in different places. One can be on a computer or external drive, the other on an independent medium or in a safe online space. A USB stick hidden in a drawer is not full protection — it can fail, be lost or be deleted by accident.
Leave original prints in an airy, dry place, away from sun, radiators and moisture. Digitisation does not mean a paper photograph stops mattering. On the contrary — it lets you reach for it less often and protect it better.
When to choose professional scanning and restoration
Home scanning works when prints are in good condition, you have time for calm work and you mainly want a simple archive. Professional help is better when photographs are torn, badly faded, scratched, glued into an album or need fragments of the image reconstructed. A large number of photographs can also turn the work into a task of many weeks.
At StareZdjęcia prints are digitised at 600 or 1200 DPI, and finished files can be delivered as JPG or TIFF. If needed, natural retouching can remove distracting damage without turning familiar faces into an artificially smoothed image. Originals can be handed over by courier, and they return in an insured parcel.
The most valuable result is not always a perfectly smooth photograph. Sometimes fine grain, a distinctive paper tone or a slightly soft frame is part of that photograph’s history. A well-made scan keeps that truth of the image and still gives your family a chance to look at the memories for many years to come.