
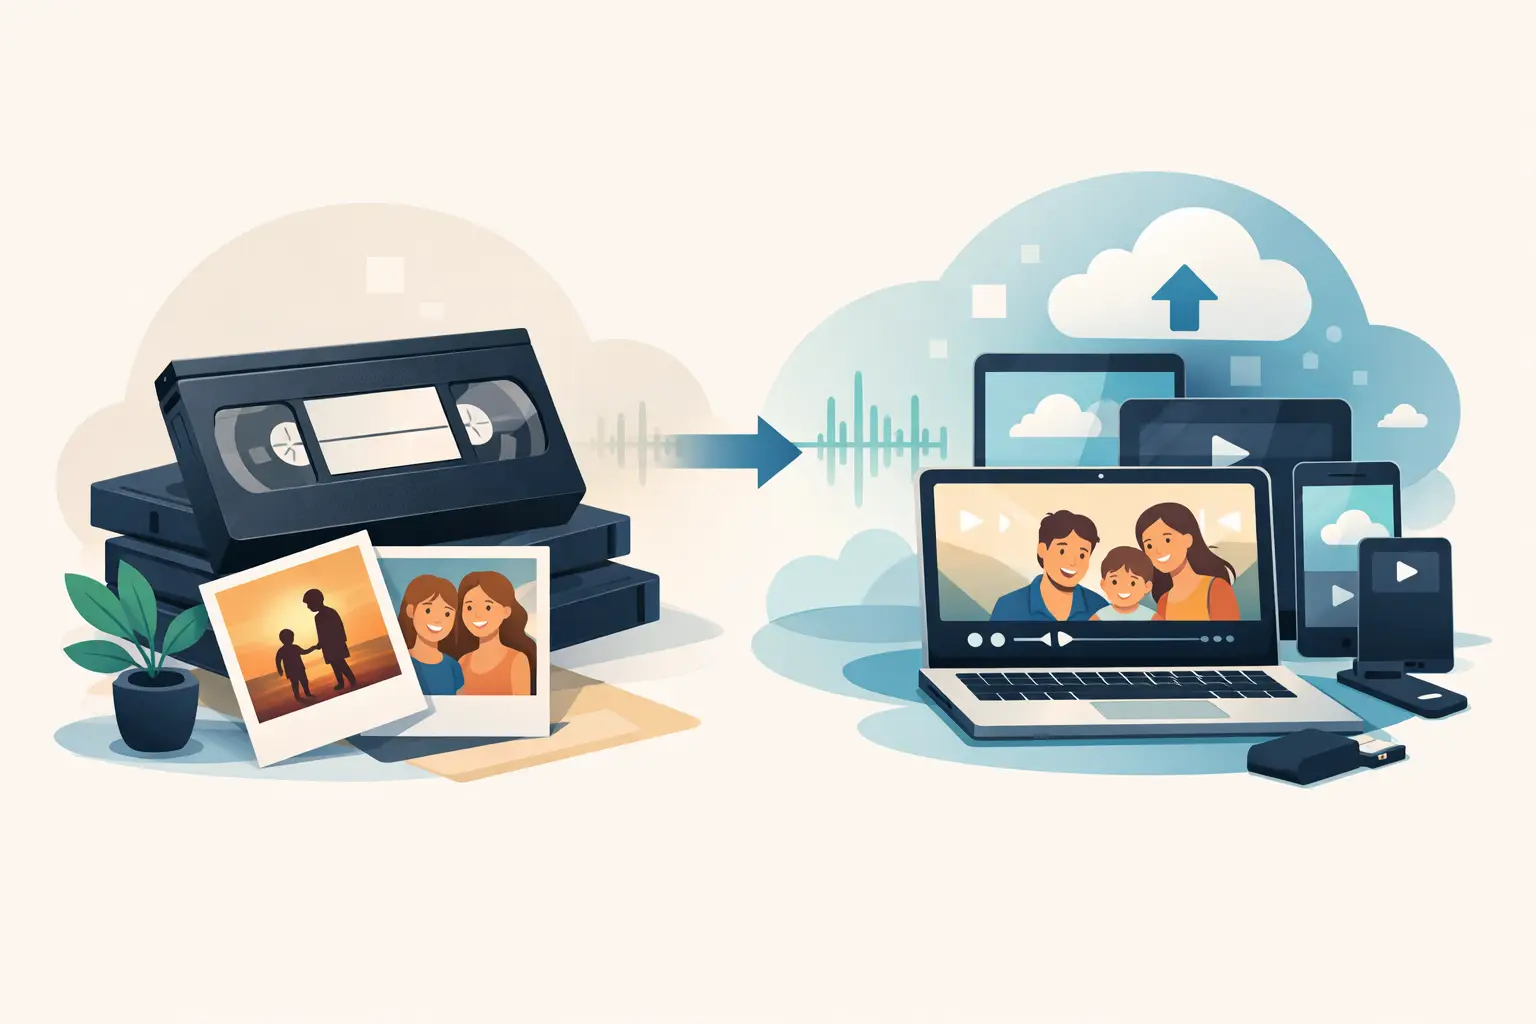
A cassette of a child’s first steps, a parents’ wedding or a holiday by the Baltic does not become less valuable just because there is no longer a video recorder. On the contrary — each year the risk grows that the tape will lose picture, sound, or become unplayable. It is worth knowing how to digitise VHS tapes so that family recordings can be viewed, copied and passed on safely.
Digitisation is not only connecting old equipment to a computer. It is a process in which the condition of the cassette, the quality of the recorder, the way the signal is captured and the correct saving of the finished file all matter. A well-made digital copy lets you return to those moments without wearing the original further.
Why do VHS tapes need prompt action?
On a VHS tape, picture and sound were recorded magnetically. Over time the medium can lose its properties: the tape weakens, stretches, becomes brittle, attracts dust, and in poor conditions mould can appear. The recorder itself is also a problem. Heads get dirty, mechanisms wear, and working devices are harder to find.
Typical signs of ageing are snow on the picture, waving frames, bars, jumping sound or its complete loss. Not every effect can be removed, but a digital copy freezes the recording at its current quality. Putting it off for more years may mean the material can no longer be read.
Every playback also means physical contact between the tape and the recorder mechanism. If the recording is unique and family, it is better to keep such attempts to a minimum.
How to digitise VHS tapes step by step
The simplest scheme is always similar: the cassette is played on a working recorder, the signal goes to a capture device, and is then saved on a computer as a video file. In practice each of these stages can affect the final result.
Assess the cassette before playback
First look at the housing. If the cassette is cracked, very dusty, damp or shows signs of mould, do not put it straight into a recorder. Mould can damage not only the tape but also the heads. The same caution applies to tape that has come out of the cassette, is wrinkled or torn.
Cassettes stored for years in an attic, a cellar or by a radiator more often have playback problems. Before digitisation let them rest for a few hours at room temperature, away from moisture and heat sources.
Use a good recorder and the right connection
Recorder quality matters more than people often assume. Worn heads can worsen the picture, and a faulty mechanism can crease delicate tape. Before starting, test the device on a less valuable cassette and make sure rewind, play and stop work smoothly.
Picture is usually captured from analogue outputs, most often RCA: the yellow video connector and red and white audio connectors. An S-Video connection can give a better result if both the recorder and the capture device support it. The signal then goes to a USB converter or a dedicated recording device.
Do not expect VHS to look like contemporary Full HD. The VHS standard has limited detail, characteristic noise and a 4:3 picture. The aim is not to invent quality that was never on the tape, but to preserve as faithfully and stably as possible what was recorded.
Record the material in real time
A VHS cassette has to be played from start to finish — an hour of recording needs about an hour of work. During capture it is worth watching picture and sound. That way you quickly notice a broken signal, a sync problem or a fragment that needs to be played again.
Save the file without aggressive compression. In practice MP4 is the most convenient format for a family archive, because most televisions, computers and phones will open it. If the material will be processed further, you can also keep a larger source file. It takes more space, but gives more freedom for later correction.
Picture and sound: what can be improved, and what is better not to hide?
After capture you can correct basic problems: stabilise the picture, gently improve brightness, contrast and colour balance, and even out volume. Sometimes noise can be reduced, single disturbances removed or very dark shots made more readable.
Restraint is needed. Too much noise reduction can make faces unnaturally smooth and background details disappear. Excessive sharpening creates bright halos and emphasises tape faults. In family recordings authenticity matters more than an impressive filter — a familiar voice, a gesture, a look and the atmosphere of the moment.
If the picture is black and white, colour-cast or shaky, that does not always mean a digitisation error. Some of these traits come from the age of the medium or the original recording conditions. Professional processing should help you watch the material, not change its history.
Home digitisation or specialist help?
Your own digitisation makes sense when you have a working recorder, a suitable converter, time, and a few cassettes on which you can safely test the whole process. That option gives control, but it needs patience. Expect equipment setup, real-time monitoring and organising large files.
A specialist service is a reasonable choice when cassettes are unique, old or damaged, or when the archive covers many hours of material. It also matters when, besides VHS, there are VHS-C, Video8, Hi8 or MiniDV cassettes. Each format needs the right player, and casual attempts can put the medium at risk.
At StareZdjęcia analogue recordings are digitised to MP4 so they can be watched conveniently on contemporary devices and shared with the family. Materials can be handed over in person or sent by courier, and after the service the originals return to the owner.
How to protect digital recordings after digitisation
Creating an MP4 file does not finish protecting the archive. A computer disk can fail, a phone can be lost, and a USB stick is not a medium for ever. The safest approach is to keep copies in at least three places: on a computer or external drive, on a second independent medium, and in a trusted online space.
Organise files at once. Instead of “VIDEO0007.mp4”, use a description that will still make sense years later, for example “1994-07 - Holiday in Międzyzdroje” or “1998 - Grandma Janina’s birthday”. If you know the people on the film, add their names in the folder name or a separate text file.
Do not forget the original cassettes. After digitisation they are still worth storing upright, in boxes, in a dry place with a stable temperature, away from magnets and sunlight. A digital copy gives safety, but the original remains an important source of family history.
It is best to start with one cassette — the most valuable or the most at risk. When you see the old house on the screen, hear a familiar voice and realise the recording is available again, it will be easier to save the rest of the family archive as well.